What is Glitter Eyeshadow and How to Apply it?
What is Glitter Eyeshadow and How to Apply it?
A lot of times, our go-to makeup looks tend to be an all-natural, keep-it-simple vibe that can work for a number of occasions without much touch-up. But what about those moments when we want to spice it up a little, like on a GNO, at a summer festival or during the holiday season? That’s where glitter comes in. But glitter can be intimidating because of the mess that usually comes along with it. So here, I’m sharing all I know about glitter to better equip you to experiment with the sparkly stuff and get the looks out of it you really want. From the types of glitter to the right tools to best apply it with to how to make it last the longest while looking as vibrant as it can be, here are the basics you need to know about wearing glitter makeup:
Types of Glitter
There four types glitter in the market, two of them are the most common--loose pigment and pressed glitter which we will mainly introduce.
Loose Pigmented Glitter Shadow: This is similar to the loose glitter except it also has an eyeshadow pigment mixed in with the glitter specks that will give more natural-looking hue.
Pressed Powder/Cream Glitter: Typically this is a hybrid of powder, cream and glitter.
Cream Glitter: This formula contains only a cream with glitter in it. While one may think that this is easier to use, it can get a little chunky if not applied properly.
No Primer: You can apply glitter directly to your skin without anything underneath, but you may have a difficult time keeping it on. If you want a more random, very subtle look, then you can apply any of the glitter types mentioned above to your skin directly. If nothing else, you at least want to use your foundation or tinted moisturizer as a base for your glitter to adhere to. This will give you a step up from using no primer at all.

Tips for Applying Pressed Glitter Eye Shadow
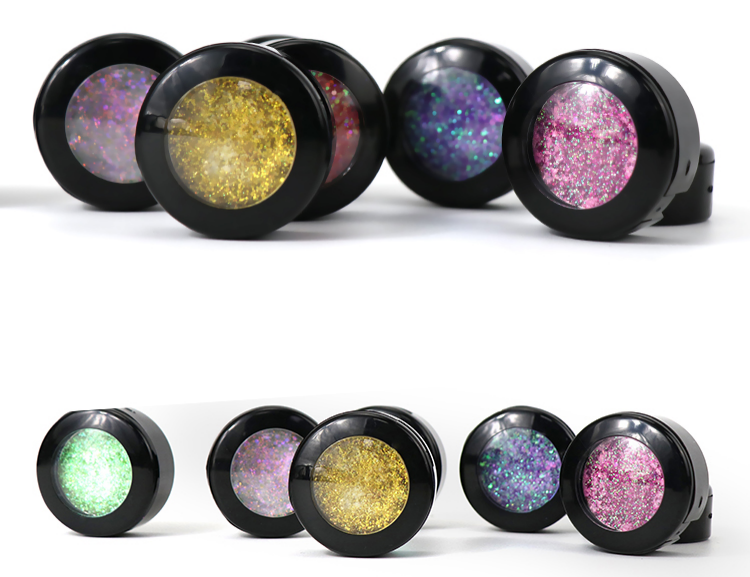
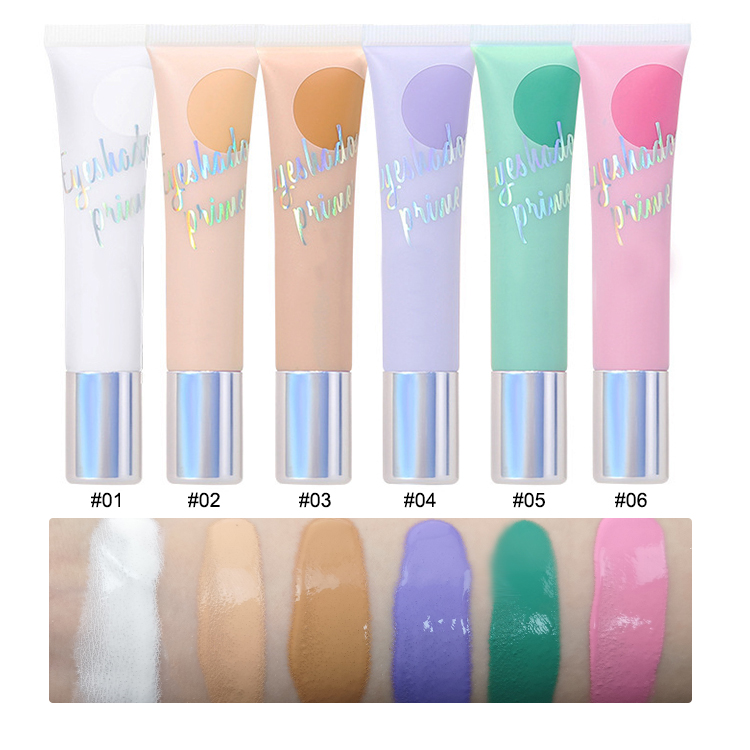
Pressed glitter eye shadow doesn't apply or wear the same as non-shimmery varieties, so it's important to prepare your eyelid using an eye shadow base or primer.
The white one bases make eye shadow shades brighter, vibrant, and truer to the color in the pan.
While the black one bases help create a deeper, more saturated color. The "less is more" rule applies to both primer and eye shadow; using too much product can cause creasing, which ain't pretty. Here is our best-selling high-quality eye primer, click the link and welcome to purchase.
Whether apply in a powder- or cream-based pressed glitter eye shadow, here's the technique: Use a flat eye shadow brush (Just like the one in the picture, click the link to buy) or your clean ring finger and place a thin layer of base or primer all over the lid up to the brow bone. Blend and smooth out with a small, fluffy, rounded brush. Again, using a flat eye shadow brush or your ring finger, dab the eye shadow onto your eyelid in patting motions to place product densely and neatly. Layer it as needed.
Tips for Applying Loose Glitter
More so than pressed glitter eye shadow, loose glitters tend to fall off the eyelid quite easily. In this case, loose glitters need a stronger base like cosmetic adhesive or glitter glue. You can skip the conventional eye shadow primer and head straight for the glue. However, if you're dusting loose glitter over top of regular eye shadow, prep the eyelid with primer or base before applying the initial layer of eye shadow so that the color stays put once you add the glue.
Apply a thin layer of glue using the product applicator or your clean ring finger. Pour a small amount of loose glitter onto a clean surface; the cap works just fine. Using a flat eye shadow brush or your ring finger, pick up a minimal amount of loose glitter, tap the excess off, and dab it onto the eyelid. Layer it up for more dramatic looks.
Detailed step-by-step diagram
Step One: Clean & Hydrated Lids
The first step to is to begin with clean lids. Then add a pop of hydrating eye cream to ensure that you eyes are plump and full of moisture pre sparkle.
Step Two: Primer/Glue
Without a doubt, the most important part in the application process when it comes to glitter is the primer. The reason that glitter can be pretty hard work is because it can be difficult to stick to lids. You need a high-strength primer instead of your usual one to ensure that the pigment and sparkle stays on all day or night. When you want to apply loose glitter, you need glue rather than primer.
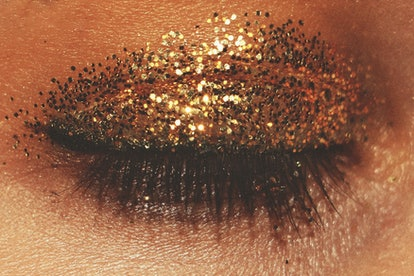
Step3: Sprinkle some glitter onto the lid of its container or another flat surface.
Pressed glitter can skip this procure.Sprinkle just enough glitter for what you need. It's better to start off with less and sprinkle more out if you need to. This helps you avoid wasting glitter or having to deal with trying to dump it back into the container.
Sprinkling the glitter onto another surface allows you to mix glitter colors together to create custom shades, and also gives you better control so you don't get too much glitter on your brush.
Step4: Dab some glitter onto a flat shader brush and apply it to your eyelid.
Softly pat the glitter onto your eyelid. Pressing too hard or brushing it across your eyelid can smear the rest of your makeup and make the glitter too thin.
Dab on extra layers until you reach the desired look.
Step5: Remove glitter fallout by gently pressing tape on the glitter specs.
Take a small strip of transparent tape and gently press it against your face where the excess glitter has fallen. If you make sure to press lightly, the tape will remove the specs of glitter without ruining your makeup.
You can use other types of tape or sticky items like labels to remove the glitter fallout, but be careful not to use anything too tacky (like duct tape) because it can ruin your makeup and even damage your skin.
If you only have super sticky tape, press the strip of tape against your hand a few times to remove some of the tackiness before using it on your face.
If you don’t have any tape, then just apply a heavy layer of loose powder to your undereye area before you apply your eye makeup, and then use a fluffy brush to sweep away any glitter that falls onto this area.
Tips for Finishing and Removing
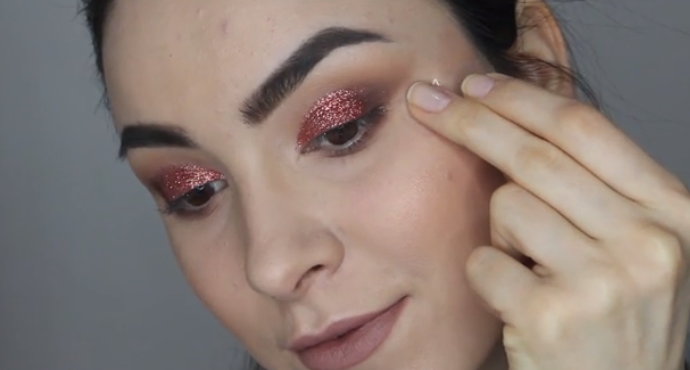
Try using a setting spray at the end of your application to lock in the glitter. To remove, grab a couple of cotton rounds and an oil-based eye makeup remover. Dampen a cotton round with water and also splash your eye area with some water. Add the eye makeup remover to the water-saturated cotton round. Gently press and hold the cotton round over the eye for a few seconds to soak the area. Begin to lightly rub away the glitter, going over the area several times until clean. Rinse with fresh water, and firmly but gently pat the eye area dry with a soft cloth or tissue.

